+49 6172 / 1710179
We are thrilled to serve you
Figurine Creation
Description of the manufacturing process of a figure from the initial idea to the finished prototype using a real example
Goal Definition:
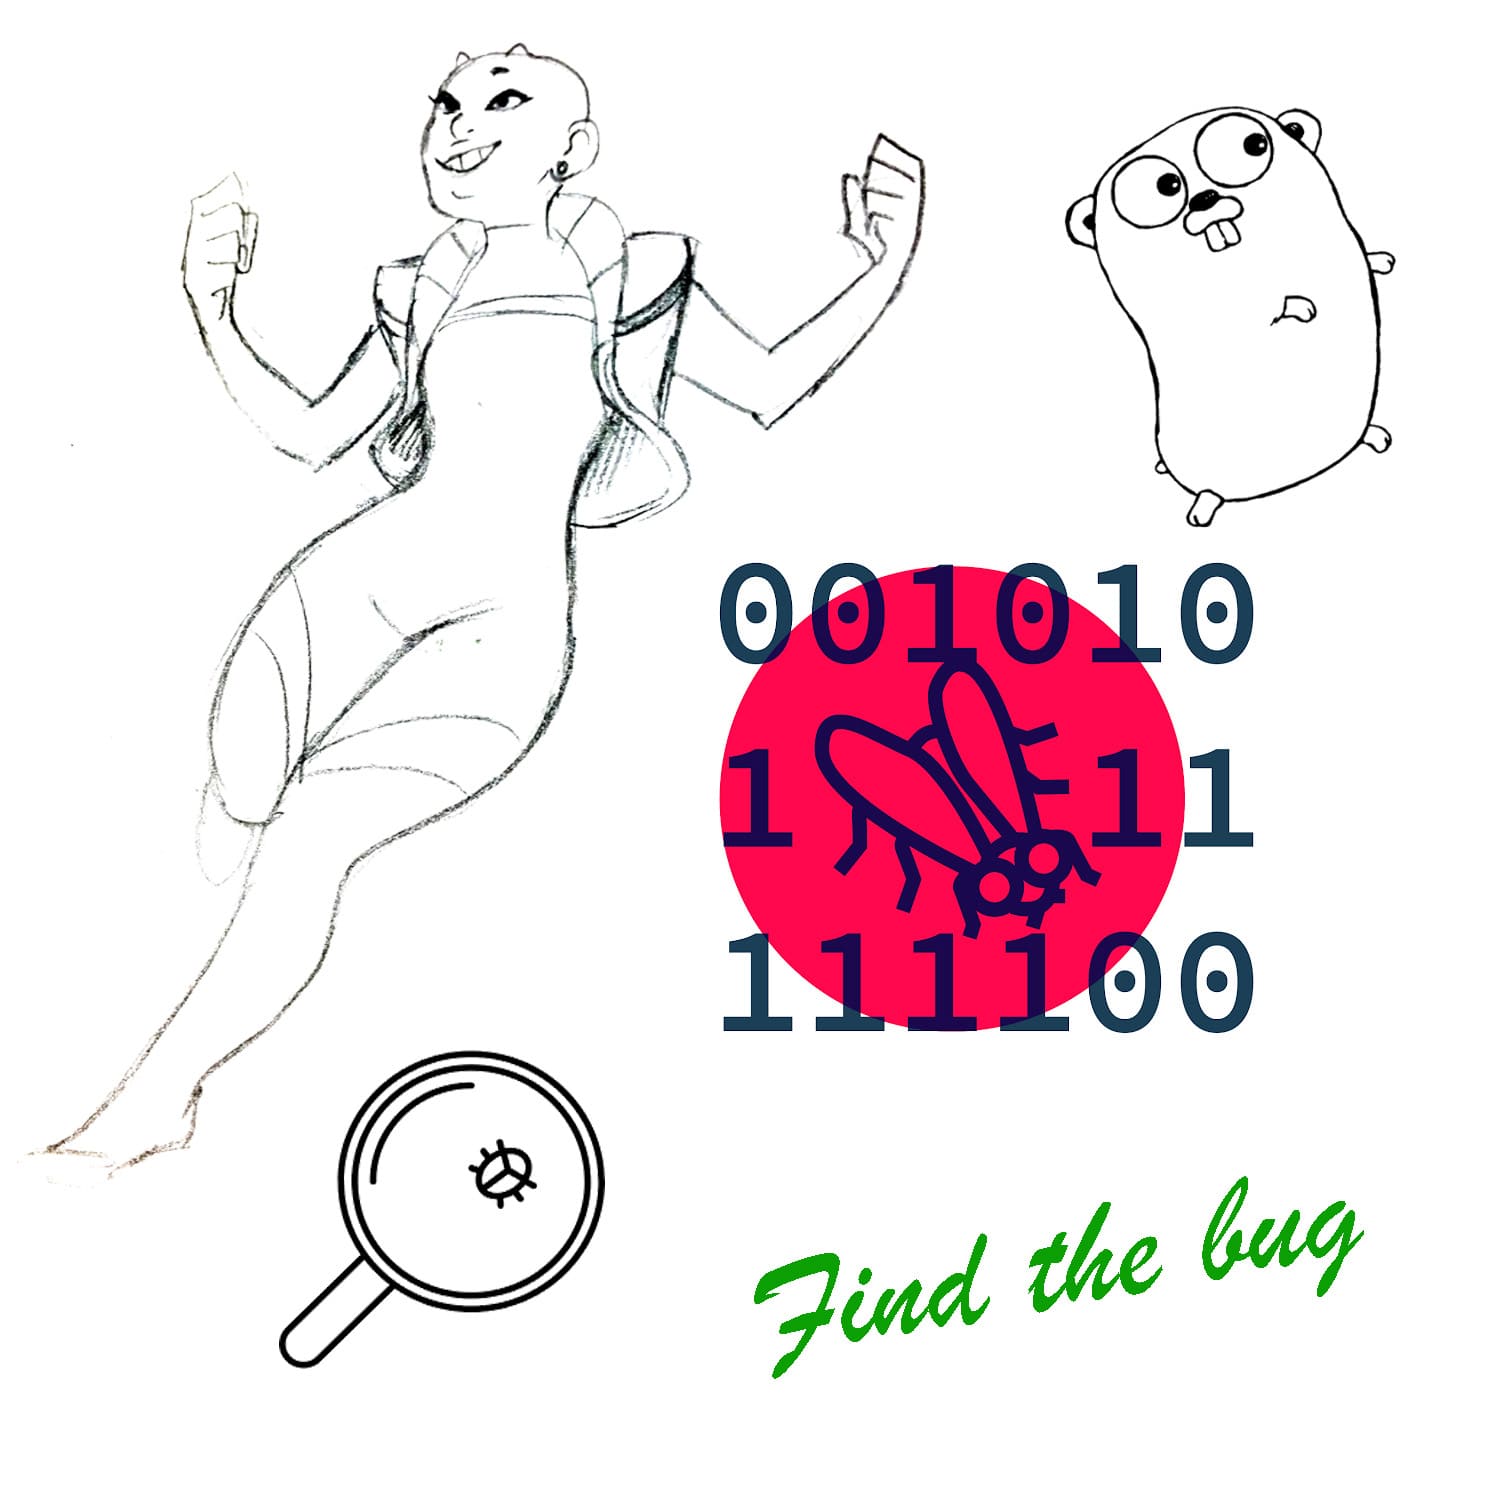
A testing company offers different test disciplines, e.g. "Agile Testing" or "Mobile Testing". Each discipline should be represented by a specific object. As part of the goal definition, we first defined the scope. What was to be developed: a symbol, a slogan, a figure or something else (see picture)?. As part of the brainstorming process, various proposals were compiled and outlined. The result was that each test discipline should be represented by a separate character.
Appearance:
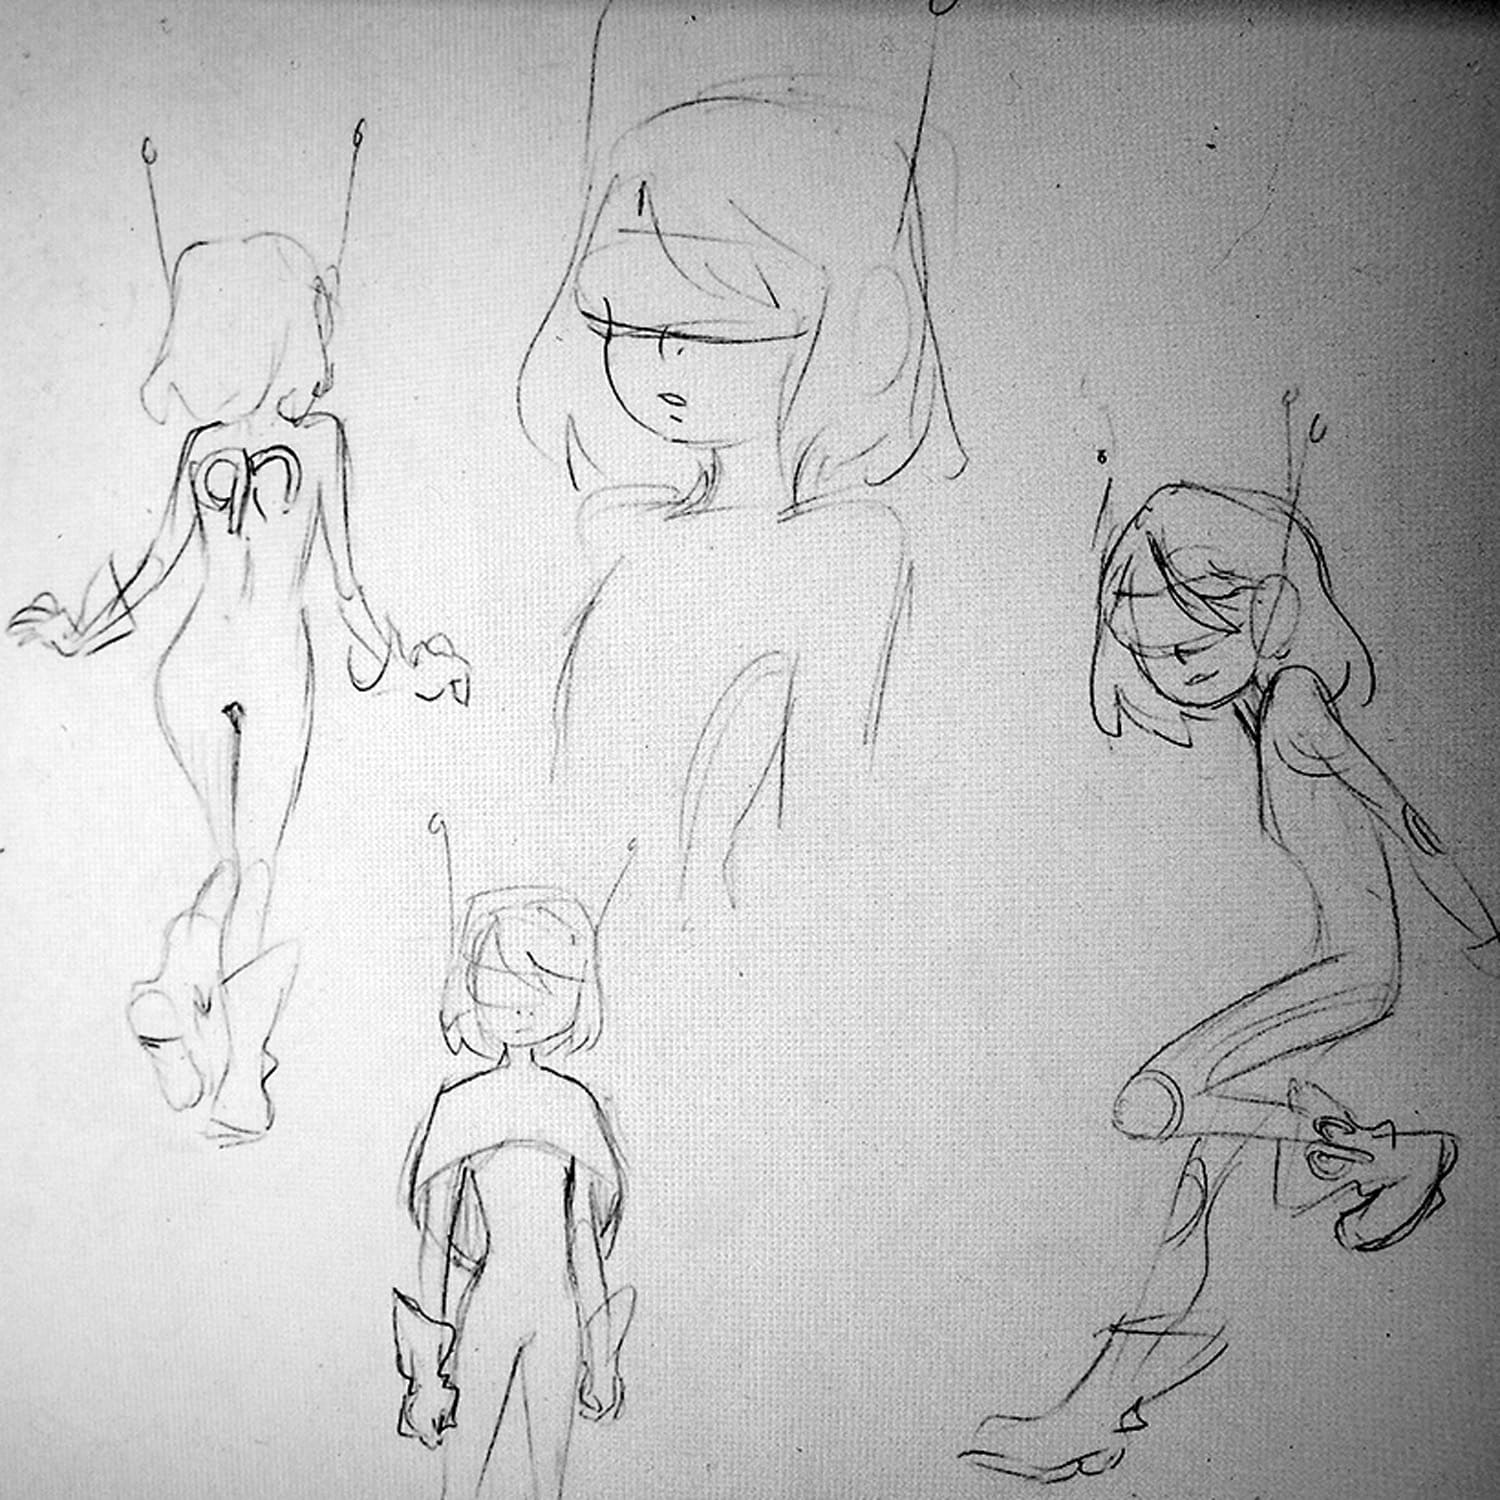
Next, the appearance of this character had to be determined. Should it become a fantasy character, a monster or something else? After some creative rounds, all participants agreed that each test discipline should be represented by its own hero (Testing Hero). It was jointly decided that the testing hero for the "agile testing" was the first to be developed. Then the first ideas for the testing hero were collected and sketched on paper (see picture).
Arrangement:
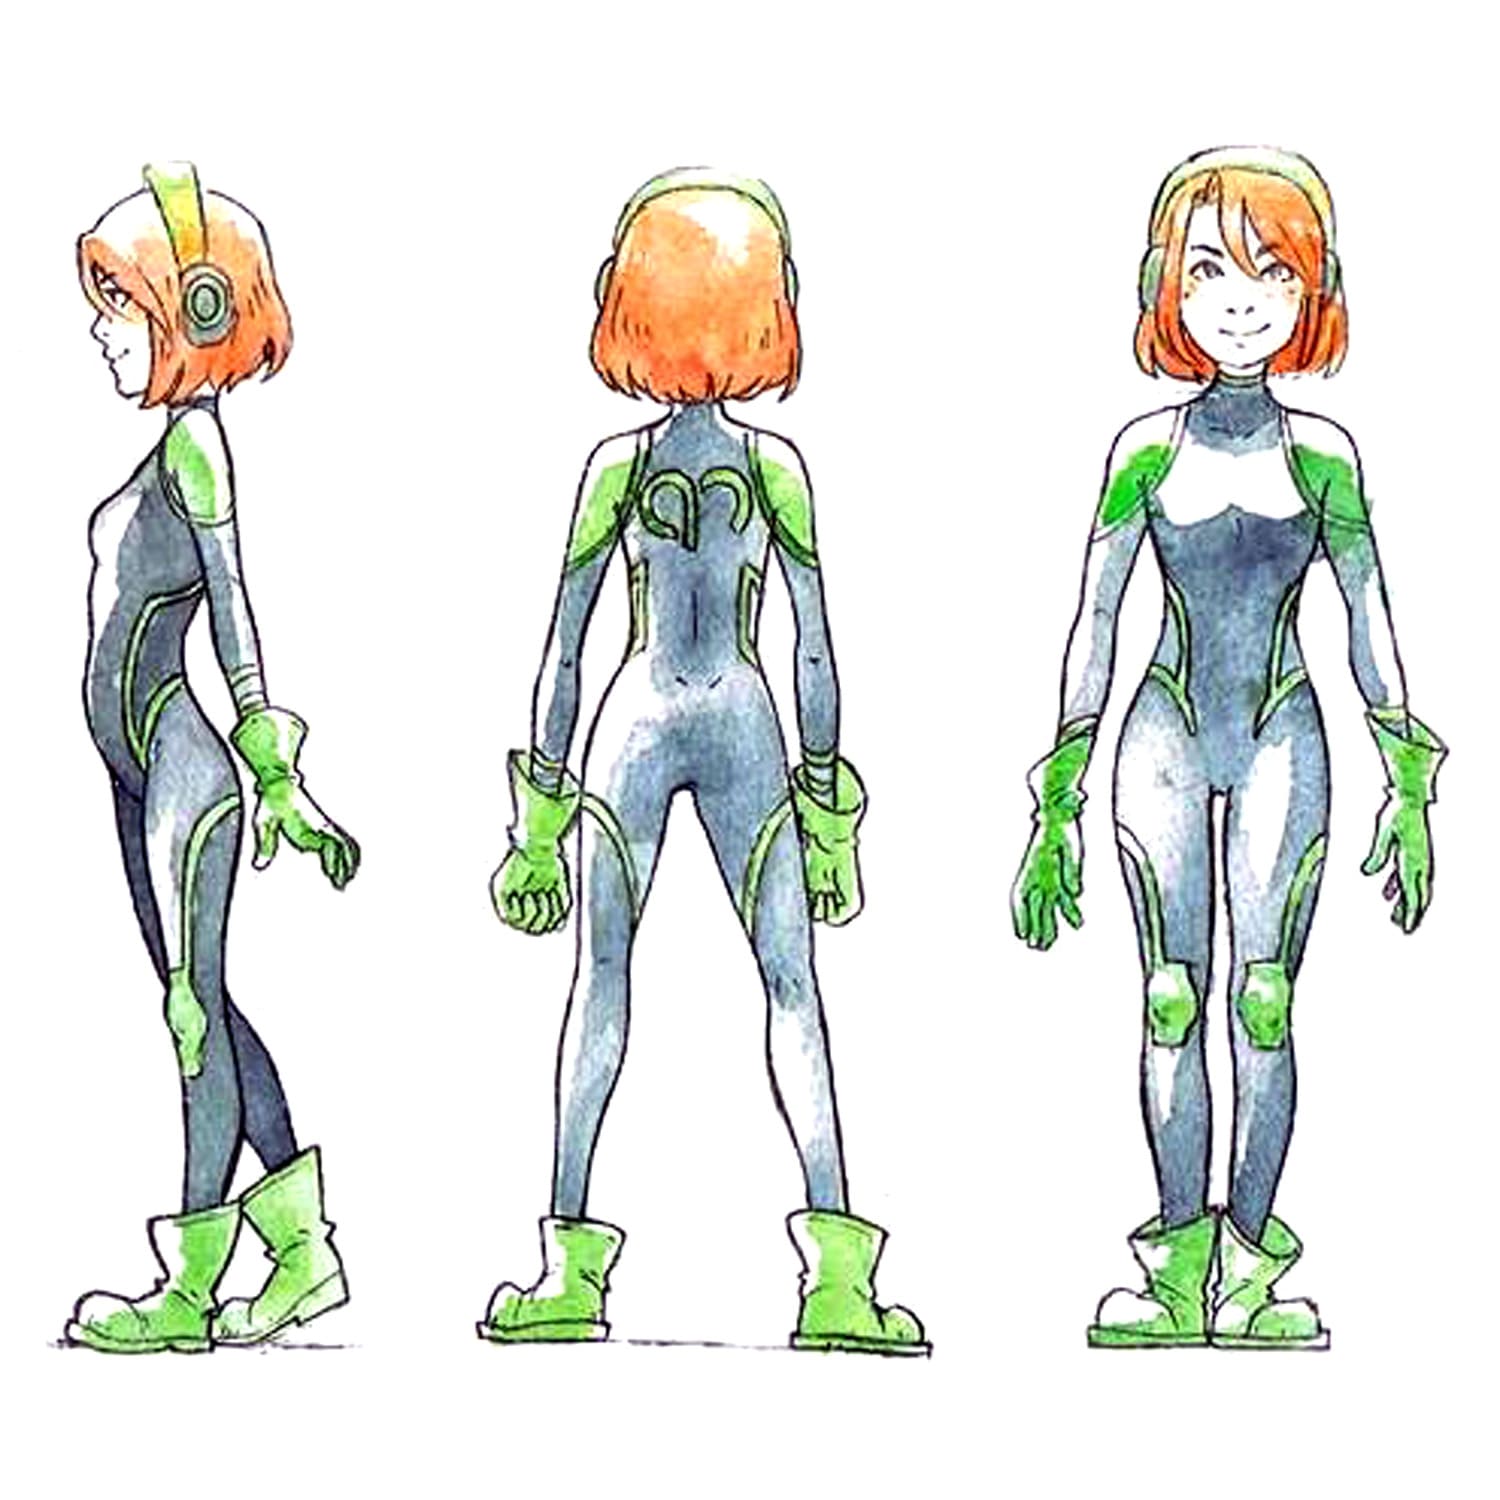
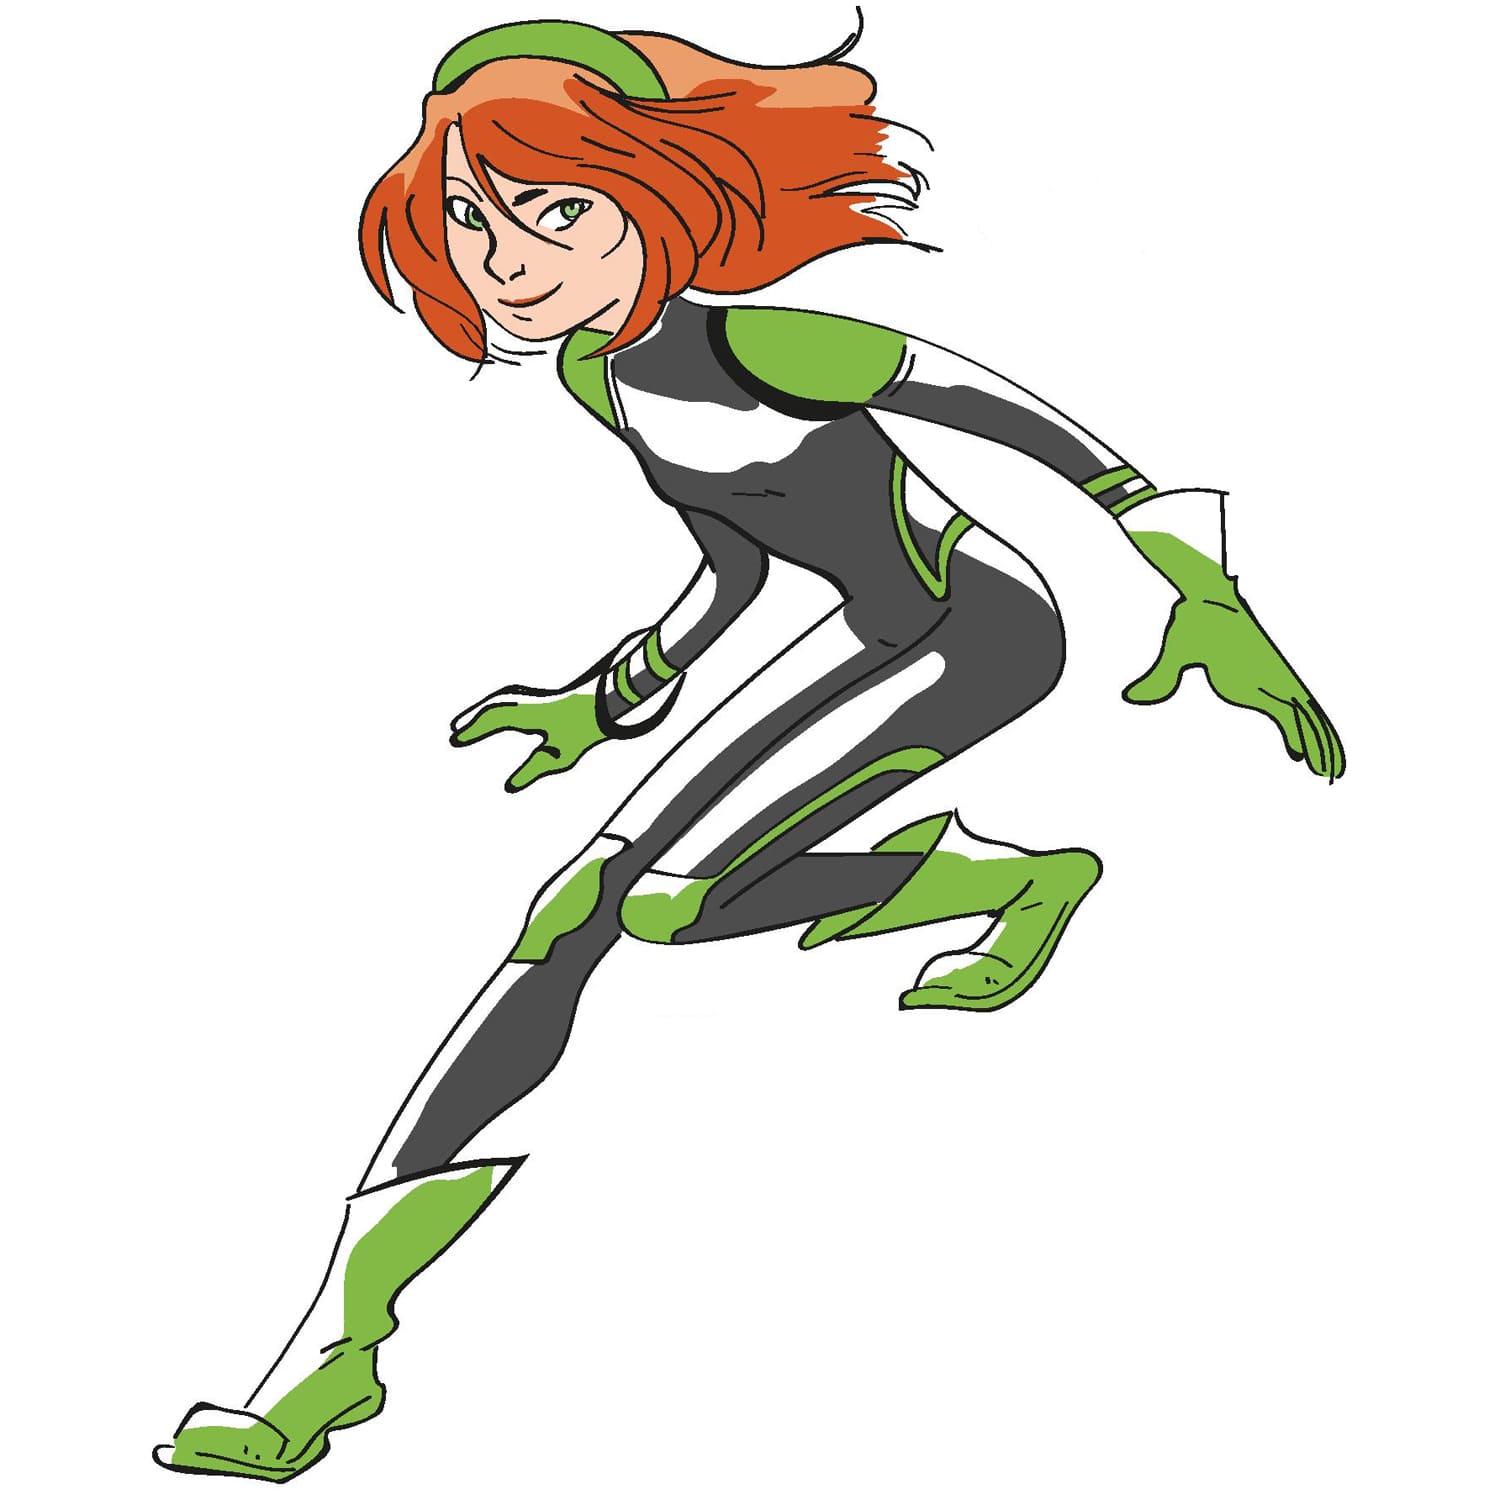
After the appearance was discussed, the hero was further detailed with the help of a professional draftsman. It was worked out how the figure should look, what special features it has and which colors are to be used. Furthermore, views were generated from different perspectives. This is important for the 3D designer later, so that he can transform the figurine as accurately as possible into a 3D model. Moreover, a fancy name was found: The hero should be called "Gil" according to "agile testing”.
Posing:
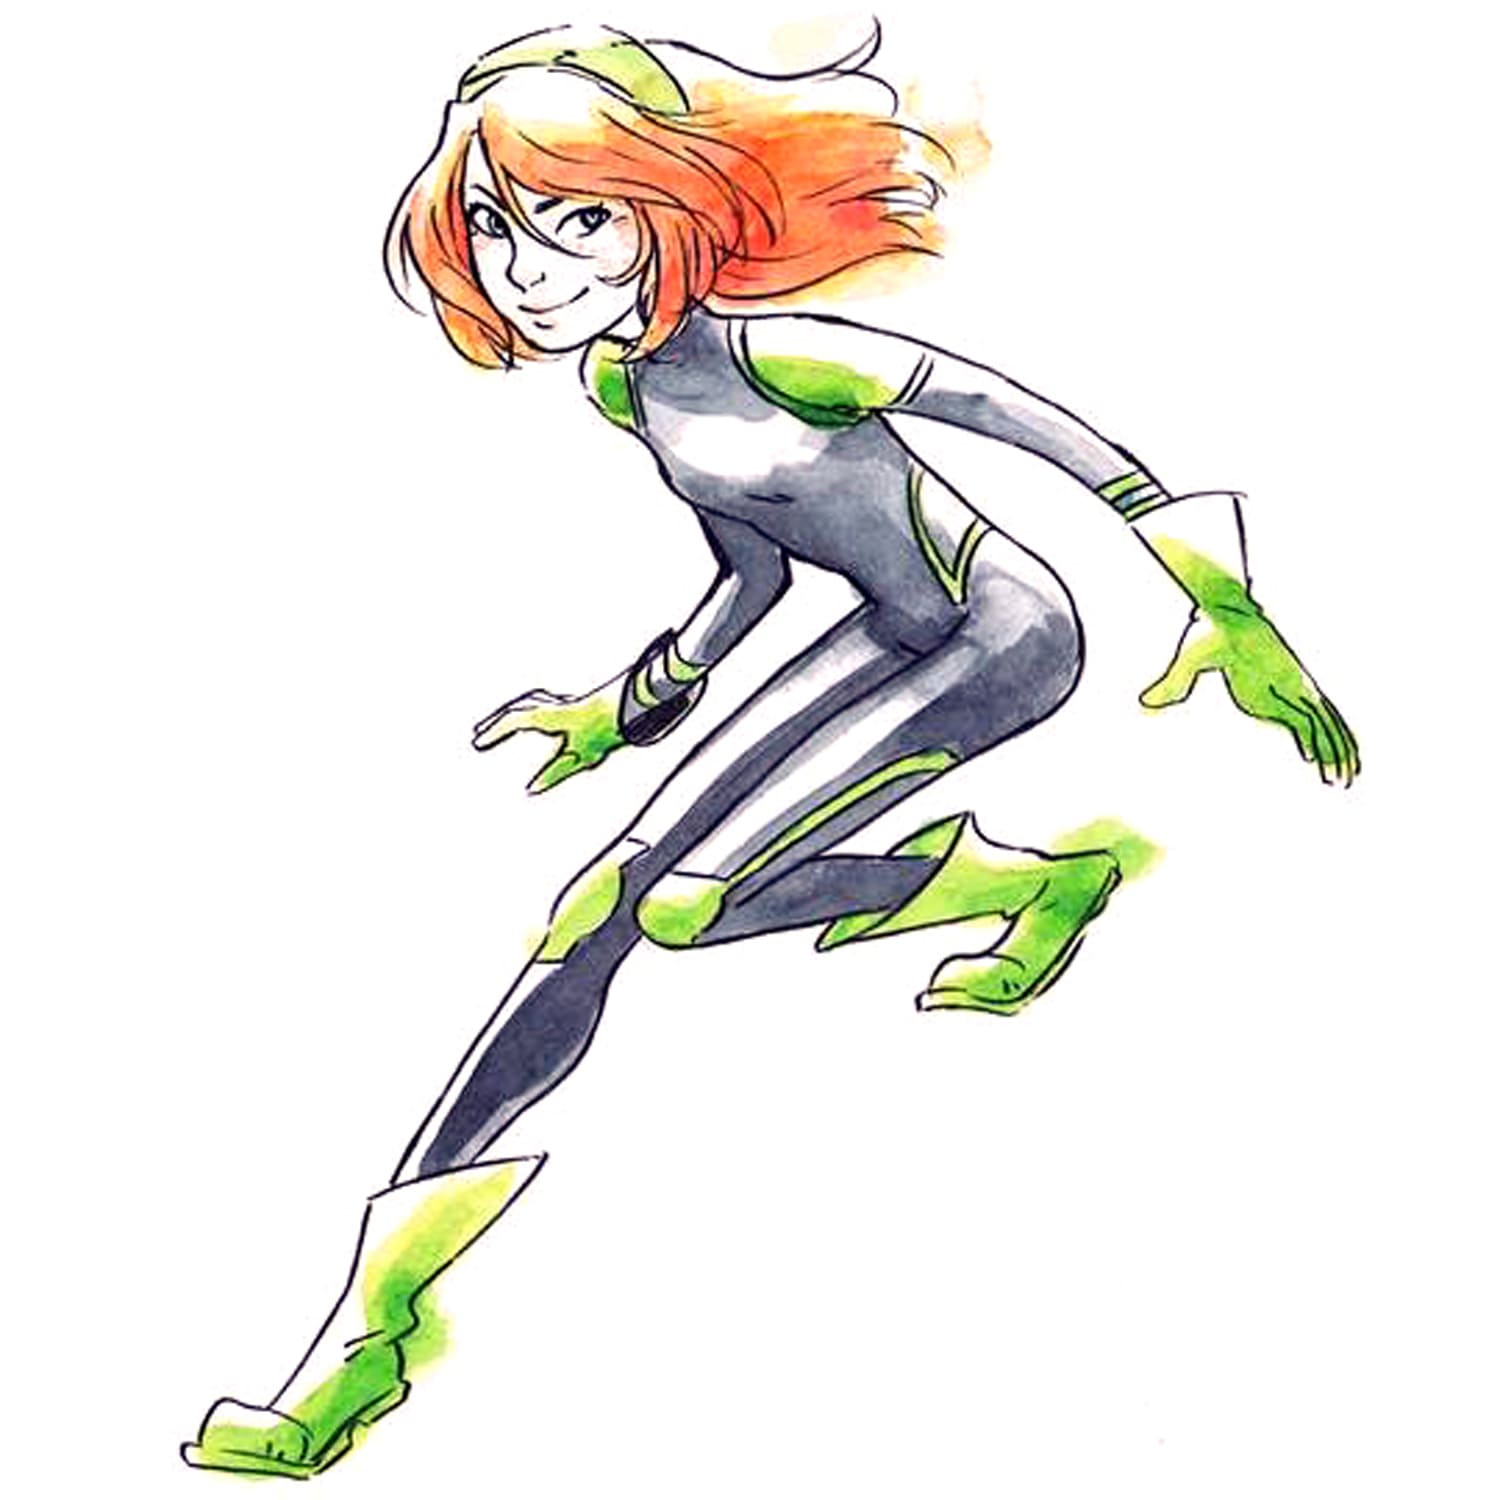
Next, the posing of the hero was worked out. Since this hero represents agile testing, the figurine should appear fast and agile. In addition, the hair should flutter in the wind representing rapid movement. The result was the pose as shown in the picture on the left. This completed the development of this character and the corresponding figure. The first hero was born: "Gil" for the agile testing.
2D Design:
During the 2D design, the hand-drawn template was traced using Photoshop. On this occasion, the colors were defined. As the cost of production increases with each additional color, the color gradients were removed and the colors reduced in this step. Furthermore, the colors for the different use cases were defined: RGB for the homepage, CMYK for print-related matters and the Pantone color code for the later coloring of the figurine.
3D Design:
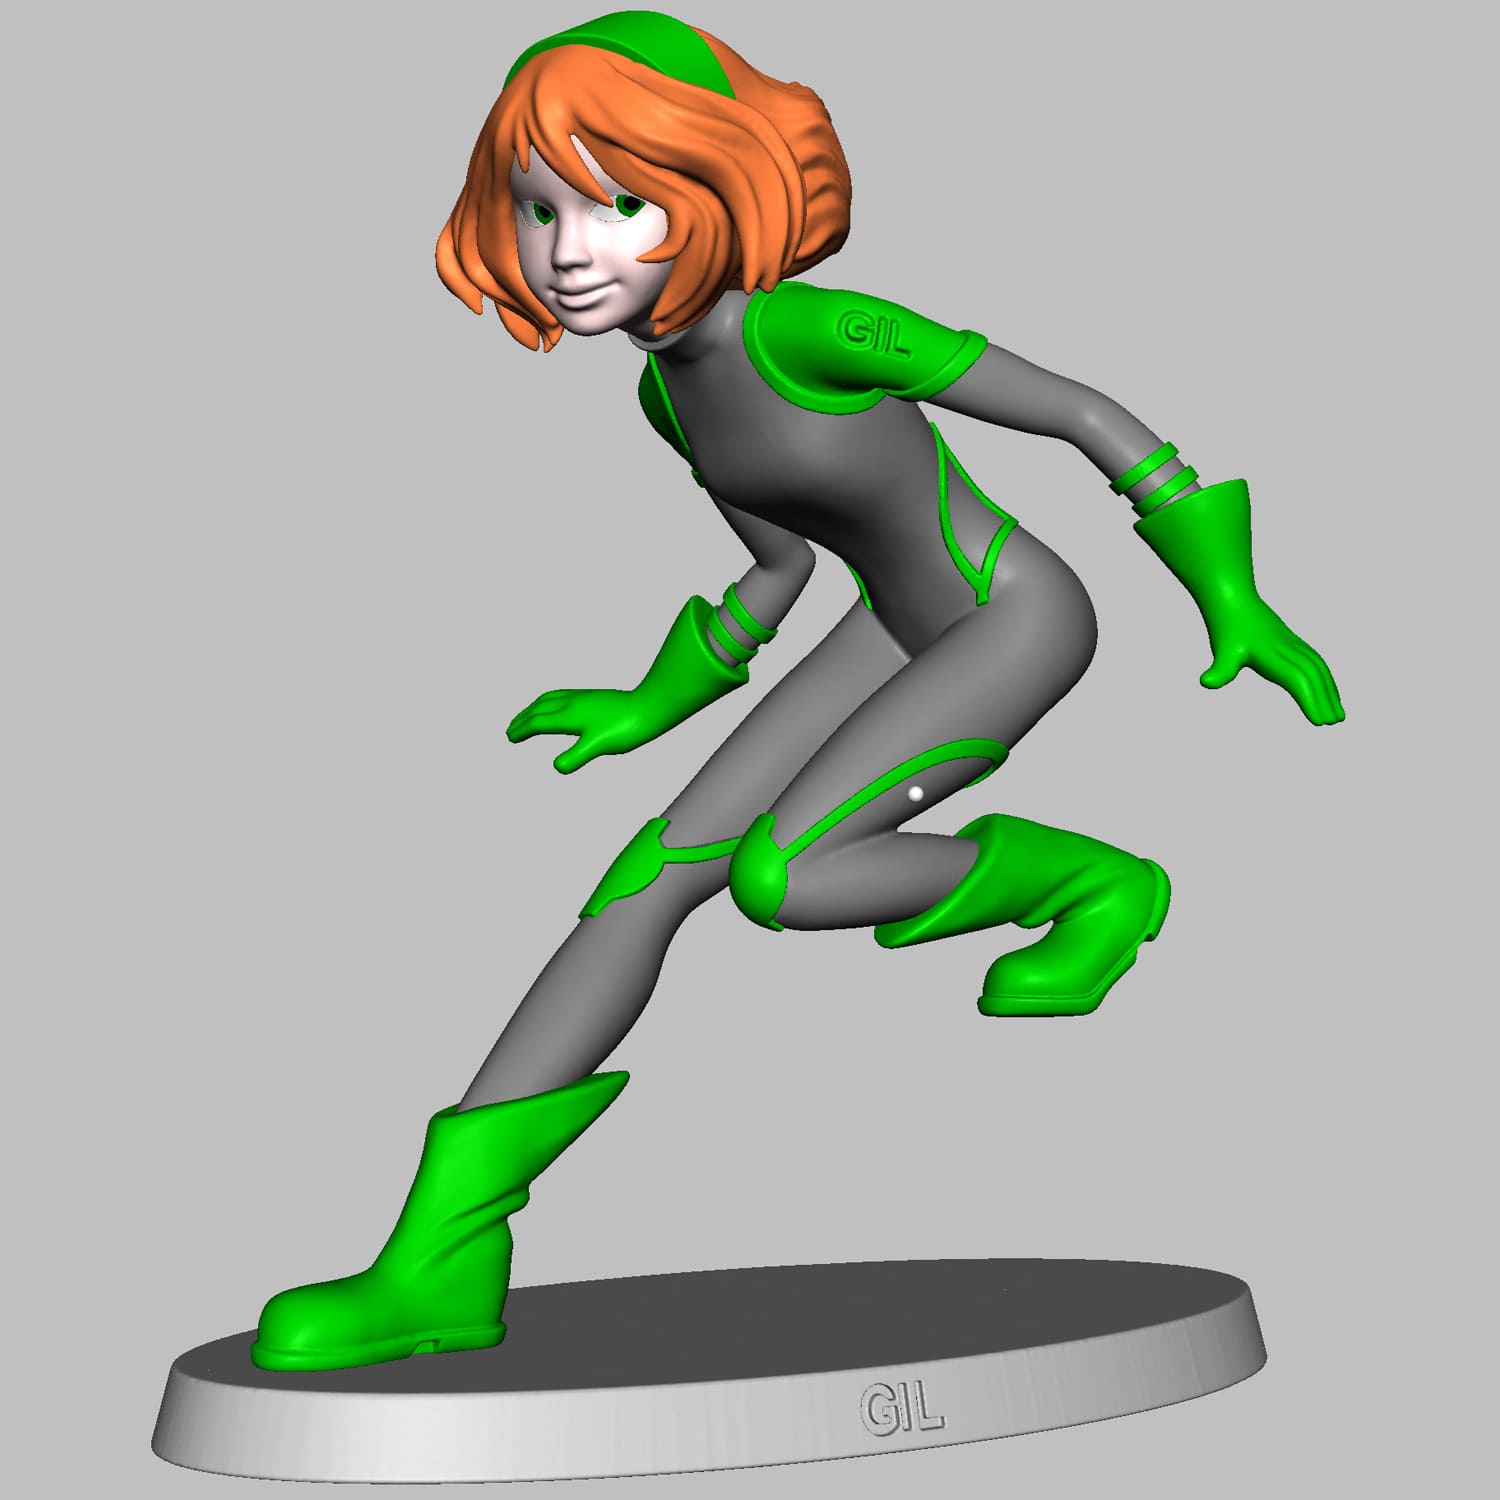
For the 3D design, the 2D drawing and the different views were needed. During this step the feedback of the 3D designer was also considered. Experience has shown that fluttering hair in the wind can indeed be produced, but would also break off easily. Thus, the hair was cut slightly and made more compact. Since the figurine would fall over in the given pose, a platform had to be added. Furthermore, the name "Gil" was engraved into the front of the platform.
3D printing:
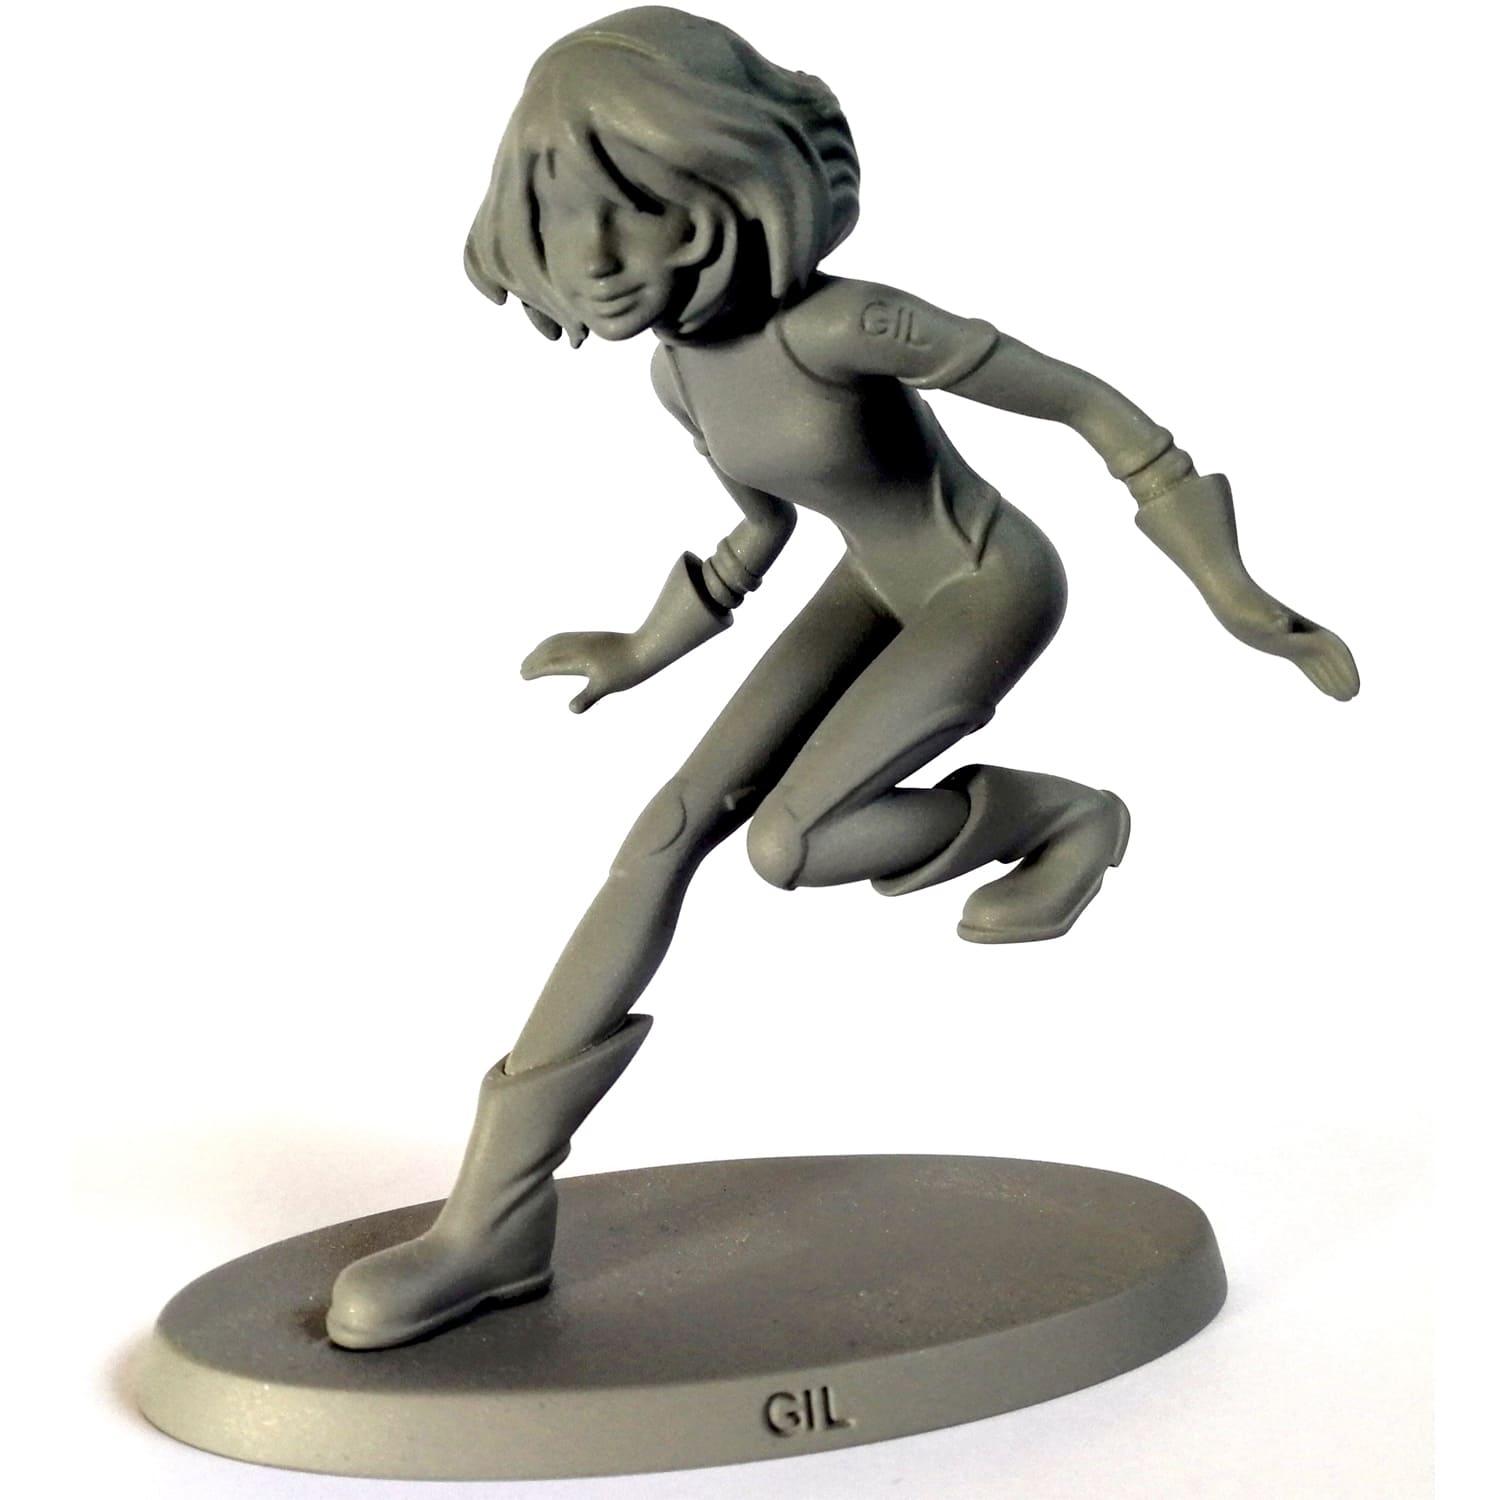
For 3D printing, the 3D drawing needs to be exported from the CAD program to a format that the 3D printer can process, e.g. STL (Standard Triangulation / Tesselation Language). The output was made on an industrial 3D printer with a resolution of 1200 dpi. Since 3D color printing is currently not possible, the output is a single-color plastic model. The model must then be deburred and polished. After that is was possible to hold the first hero in the hand.
Coloring:
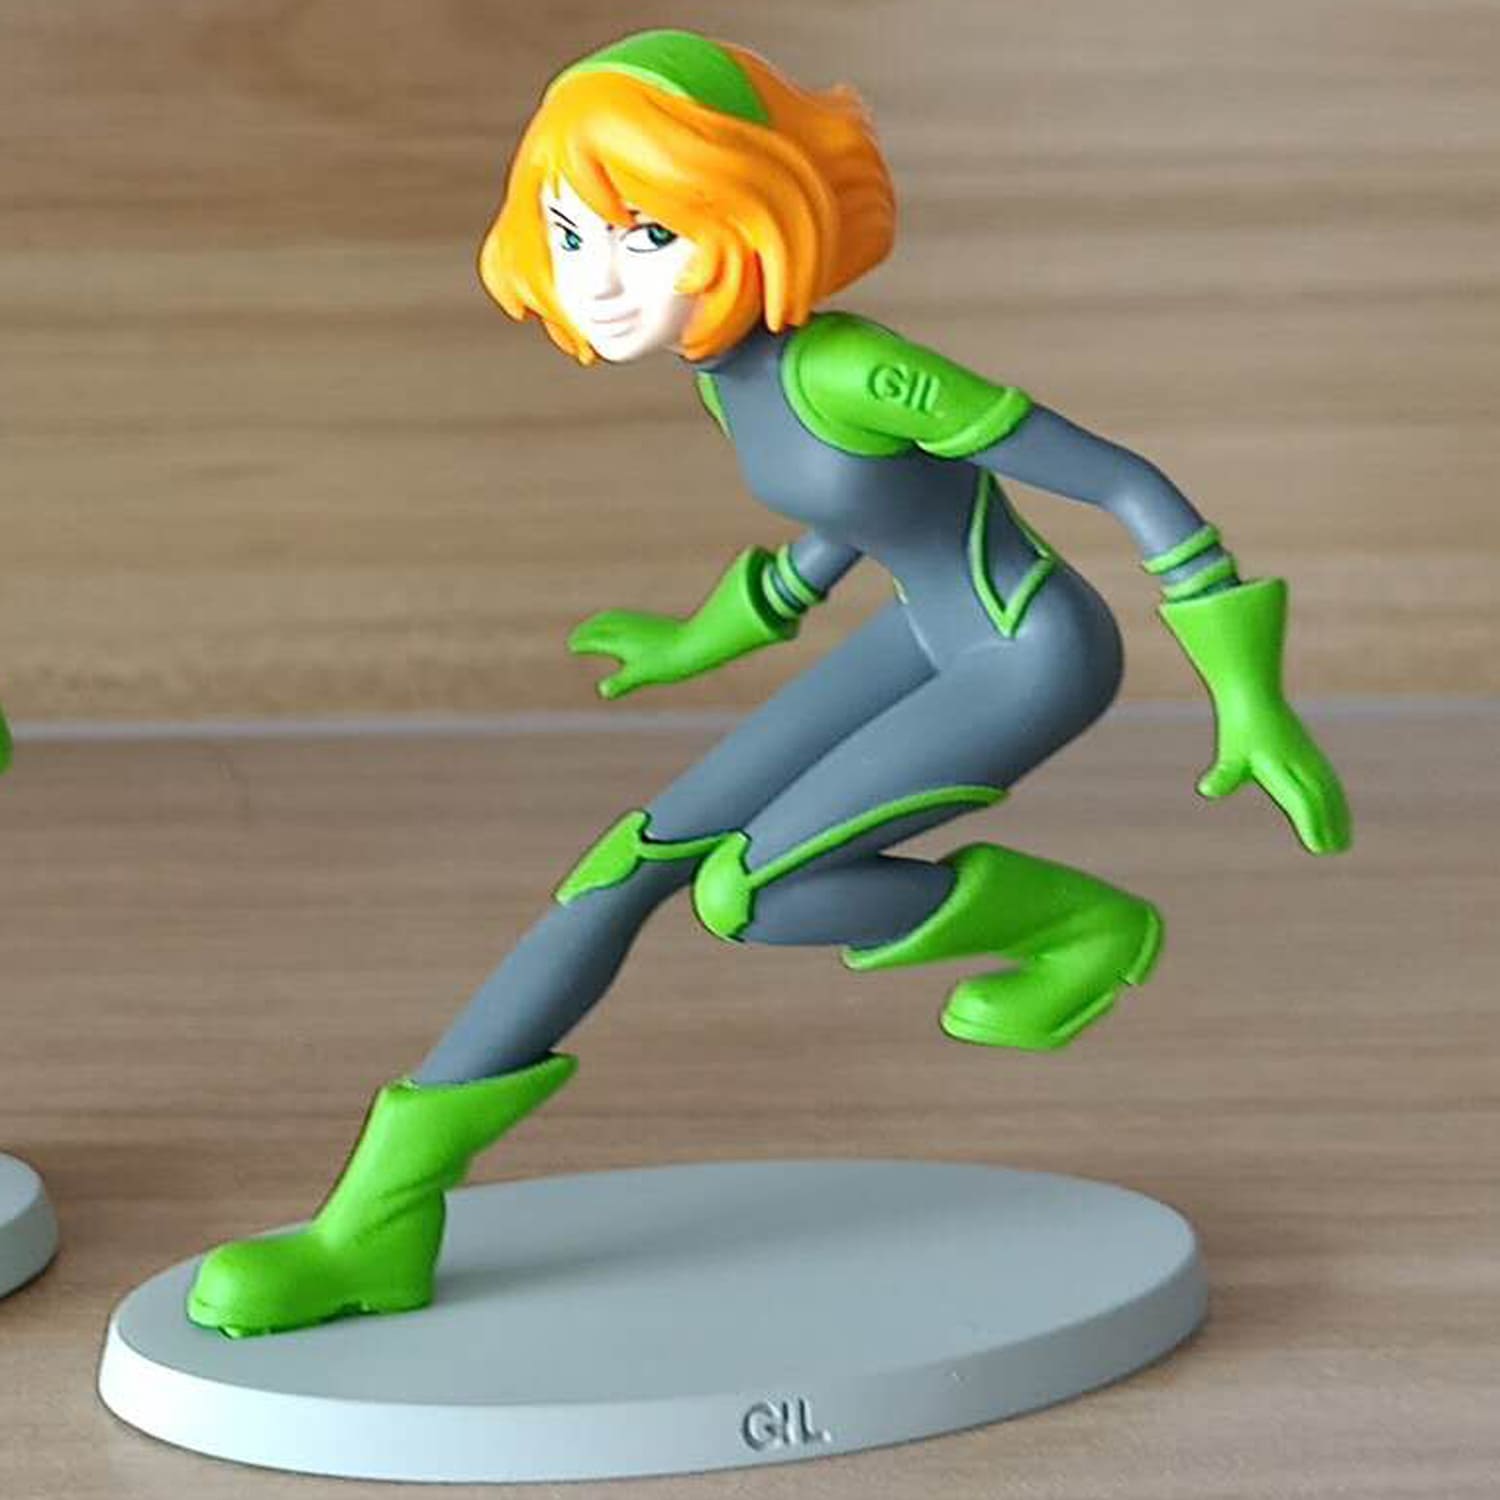
Finally, the figure was hand painted using the Pantone colors, which were defined during the 2D design. It is important to know that this figure is a plastic prototype. Since arms and legs would break easily, mass production was made using PVC, similar as the well-known Disney figurines. With this the production of the prototype was completed.


